
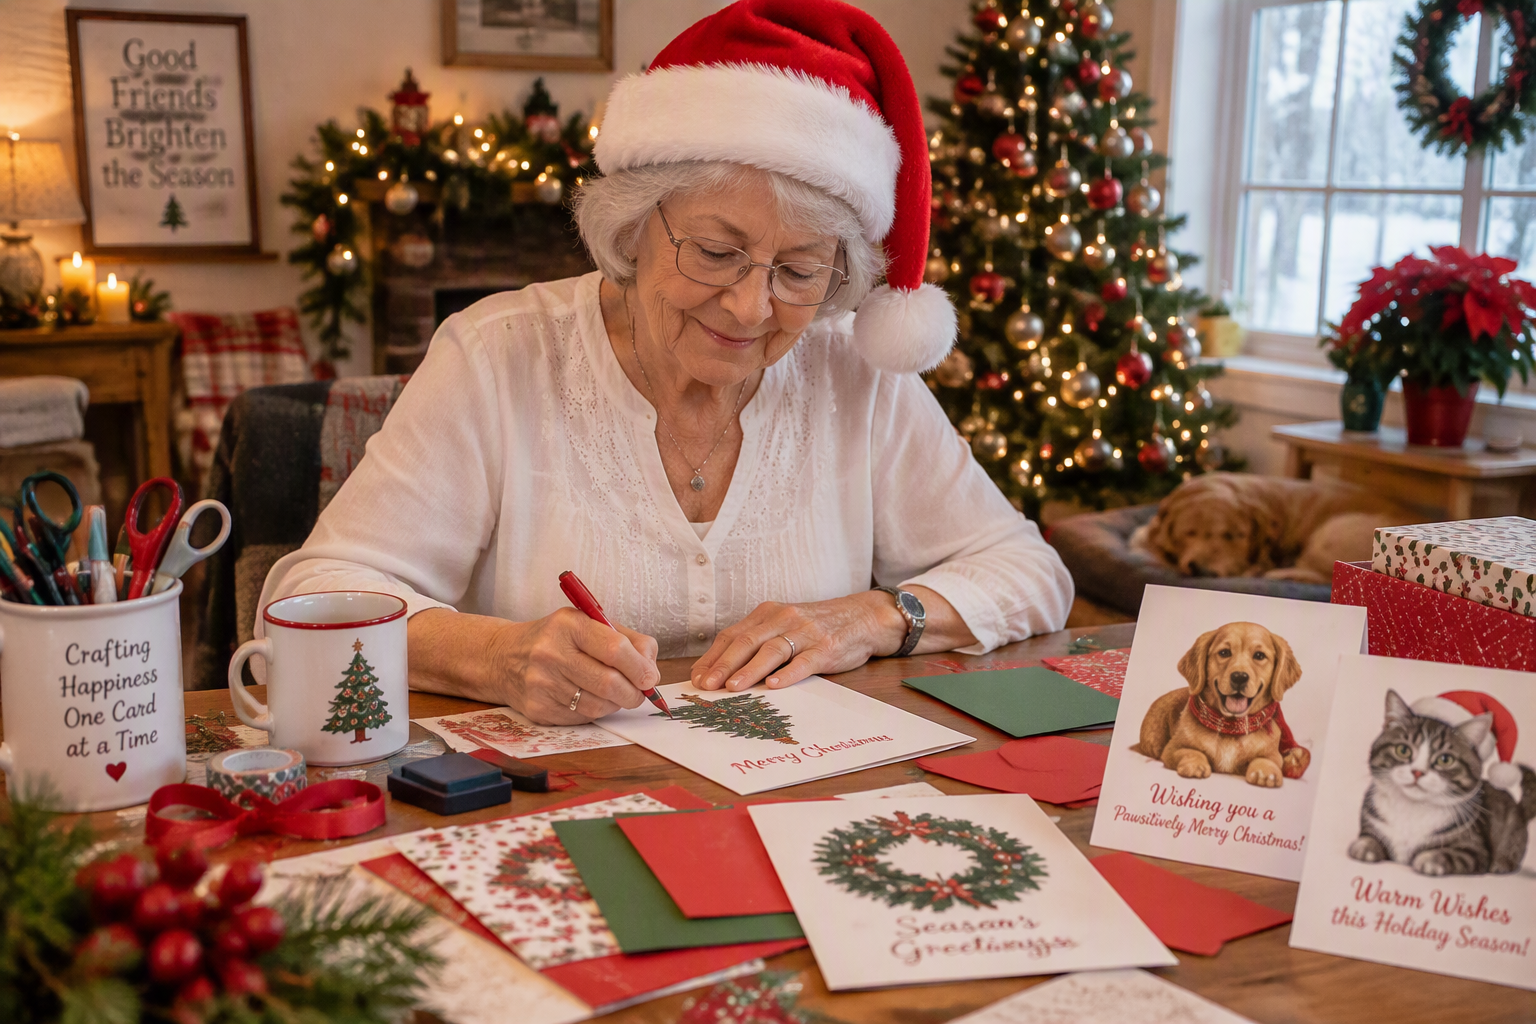
Every year, Americans send billions of holiday cards. People still love getting a real card in the mail.
It feels personal. It feels kind.
Here’s the good news. You can earn extra money by designing and selling your own Christmas cards. You don’t need to be a professional artist.
You don’t need fancy equipment. And you don’t need to be young or good with technology.
Many women over 50 are already doing this. They turn a hobby into a small side income. Some earn a few hundred dollars each season. Others build it into something bigger.
I’ve spent years helping people make smart money decisions. This is one of the lowest-risk side businesses I know.
Let me show you how to start.
Why Christmas Cards Are a Smart Side Income
Let’s look at the numbers.
A store-bought card often costs $5 to $8 today. A handmade or custom card can sell for $4 to $10. Sets of 10 or 12 can sell for $20 to $40.
Your cost to make one card is often $1 or less. That leaves you a nice profit.
You also don’t need a big upfront investment. You can start with under $100. And the demand is seasonal but reliable. People buy every single year.
There’s another benefit. This work is calm and enjoyable. You get to be creative. You set your own hours. You can work from your kitchen table.
Now let’s get to the steps.
1. Choose Your Style and Your Audience
Don’t try to please everyone. Pick one style and do it well.
Here are some ideas:
- Watercolor winter scenes
- Funny holiday cards
- Faith-based cards
- Cards for grandparents, with space for grandkid photos
- Pet-themed Christmas cards
- Vintage or old-fashioned designs
Ask yourself one question. Who would love this card?
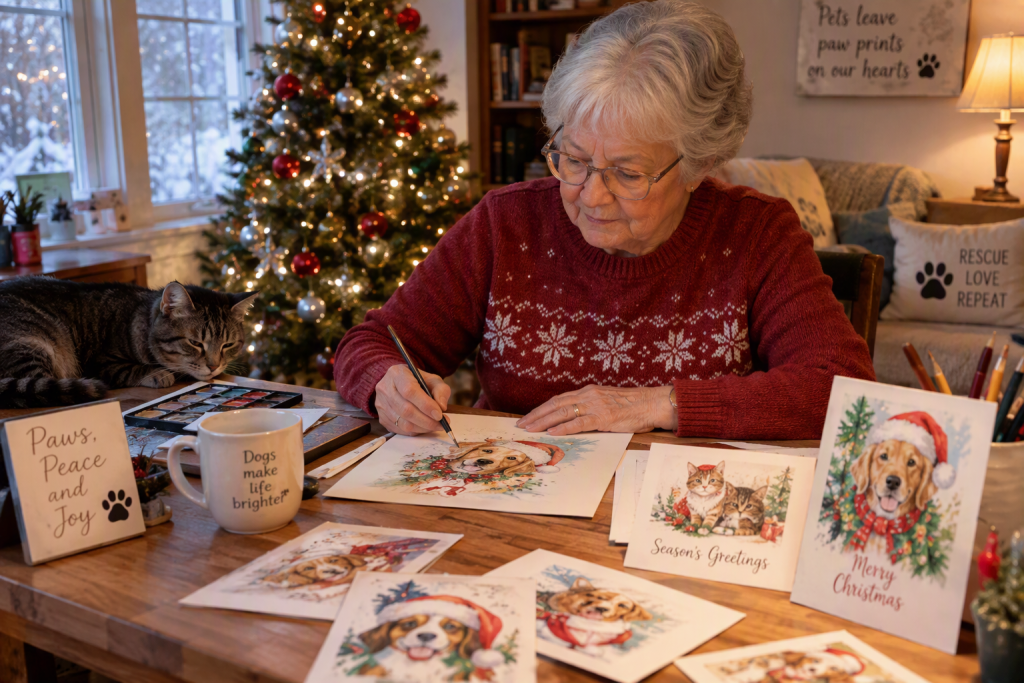
Your best customers may be people just like you. Women your age know what they like. They know what their friends like. Use that.
A clear style makes your cards easy to recognize. People will come back for more next year.
2. Create Your Designs
You have two simple paths. You can use either one, or both.
Path one: Draw or paint by hand. If you already paint, sketch, or do calligraphy, great. Scan or photograph your artwork. Then print copies.
Path two: Use free design tools. Canva is a free website with easy templates. You can drag and drop pictures and words. It takes a little practice. But many beginners learn it in an afternoon. There are free videos on YouTube that show you step by step.
A few tips:
- Keep designs simple. Simple sells.
- Use clear, readable fonts.
- Leave room inside for a personal message.
- Make 5 to 10 designs your first year. No more.
One important warning. Do not copy famous characters or brands. Don’t use Disney, Hallmark designs, or song lyrics. That can get you in legal trouble. Stick to your own original work. Use only fonts and images you have the right to use. Canva’s free library has many options, but read the license terms.
3. Print Smart and Keep Costs Low
You have two ways to print.
Print at home. If you have a good color printer, this works fine for small batches. Buy quality cardstock. Buy matching envelopes. Check your ink costs, though. Ink can eat your profit.
Use a print service. Companies like Vistaprint or your local print shop can print high-quality cards in bulk. The more you order, the lower the price per card. Always order one sample first. Check the colors. Check the paper feel.
Or skip inventory completely. Print-on-demand sites like Etsy-linked printers or Printful can print and ship cards for you. You upload the design. They handle the rest. You never touch a box. The profit per card is smaller. But there’s no risk of unsold stock.
For most beginners, I suggest starting small. Order 50 to 100 cards. See how they sell. Then reorder.
4. Pick Where to Sell
You need a place where buyers can find you. Here are the best options for beginners.
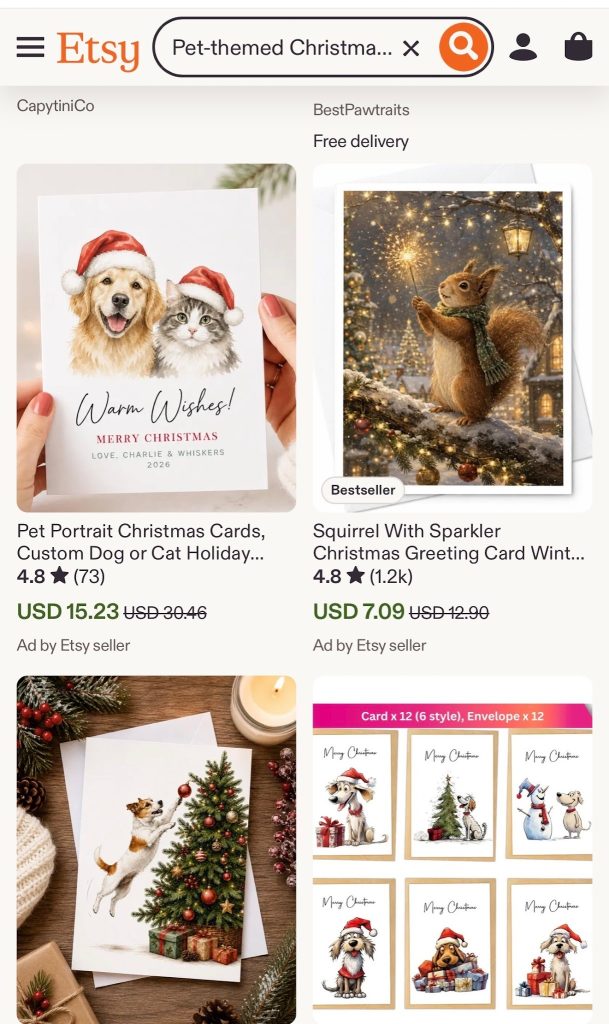
Etsy. This is the top site for handmade goods. Millions of people shop there for cards. Setting up a shop is easy. Etsy charges a small fee to list each item. They also take a cut of each sale. Count those fees when you set your prices.
Local craft fairs and church bazaars. Many fairs run from October through early December. Table fees are often $25 to $75. You get to meet buyers face to face. Many women find this part the most fun.
Friends, family, and neighbors. Don’t skip this. Your first sales will likely come from people you know. Ask your book club. Ask your church group. Ask your old coworkers.
Local shops. Some small gift stores and boutiques love local, handmade items. Ask the owner if they’d carry your cards. Many will split the sale with you.
You don’t need all of these. Pick two. Do them well.
5. Price Your Cards the Right Way
Many beginners price too low. Please don’t do this.
Here’s a simple formula:
Cost to make + your time + fees = your price.
Say a card costs you $1.25 to make. Etsy fees take about $0.50. You want to earn at least $2 profit. Your price should be near $4 to $5 per card.
Selling in sets helps too. A set of 12 cards for $30 feels like a good deal to the buyer. And you make more per sale.
Here’s a quick tip. People pay more for things that feel special. Add a nice touch. Tie a ribbon around the set. Use a pretty box. Write “Handmade in the USA” on the back. Small extras raise the value.
6. Get the Word Out and Handle the Money Side
Selling is easier when people know you exist.
Start with Facebook. Many women your age are already there. Post photos of your cards. Share them in local community groups. Ask friends to share your posts. Take clear photos in good light. A bright window works well.
Tell your story, too. Say why you love making these cards. People like to buy from a real person.
Now, let’s talk about money rules. Please read this part.
Keep records. Write down every sale and every cost. A simple notebook works. So does a free spreadsheet.
Know the tax rules. In the U.S., side income is taxable. If you earn more than $400 in net profit in a year, you generally must report it. You’ll likely file a Schedule C with your tax return. The good news? You can deduct costs like supplies, printing, fees, and shipping. That lowers what you owe.
Check your state rules. Some states require a sales tax permit. Etsy collects sales tax in many states for you. At craft fairs, you may need to collect it yourself. Call your state’s tax office or look at its website.
Social Security matters. If you’re receiving benefits, extra income may affect them. This depends on your age. If you’re under full retirement age, earnings above certain limits can reduce your benefits. Check the Social Security website or talk with a tax professional before you start.
I’m not your personal tax advisor. But a quick call with a local tax preparer can save you stress later.
A Simple Timeline to Follow
Don’t feel rushed. Here is an easy plan:
- This week: Pick your style and sketch ideas.
- Next two weeks: Finish 5 to 10 designs.
- Week four: Order samples and test your prints.
- Early November: Open your Etsy shop. Sign up for a craft fair.
- November to mid-December: Sell, sell, sell.
Even if you start late this year, you’ll learn a lot. And you’ll be ahead for next year. Many sellers plan their next season in January. They sell more the second time around.
Final Thoughts
You don’t need to be an artist. You don’t need to be good at computers. You just need a little time and a willingness to try.
Start small. Keep your costs low. Sell to people you know first. Then grow from there.
Maybe you’ll earn a few hundred dollars. Maybe you’ll earn more. Either way, you’ll be doing something creative and rewarding. And your cards will bring joy to someone’s mailbox.
So take one step today. Sketch one design. Open Canva. Or simply grab a pen and paper.
Christmas is coming. Your cards could be part of it.


